How to install and use Continually chatbots with Elementor Builder
Continually can be installed on any WordPress website using our WordPress plugin. The plugin will embed Continually chatbots on all your website pages. This article will cover how you can start a Continually bot from a button or a link on pages built by Elementor Builder, which is one of the most popular WordPress builders.
Before you start:
- Install the Continually embed code using our WordPress plugin.
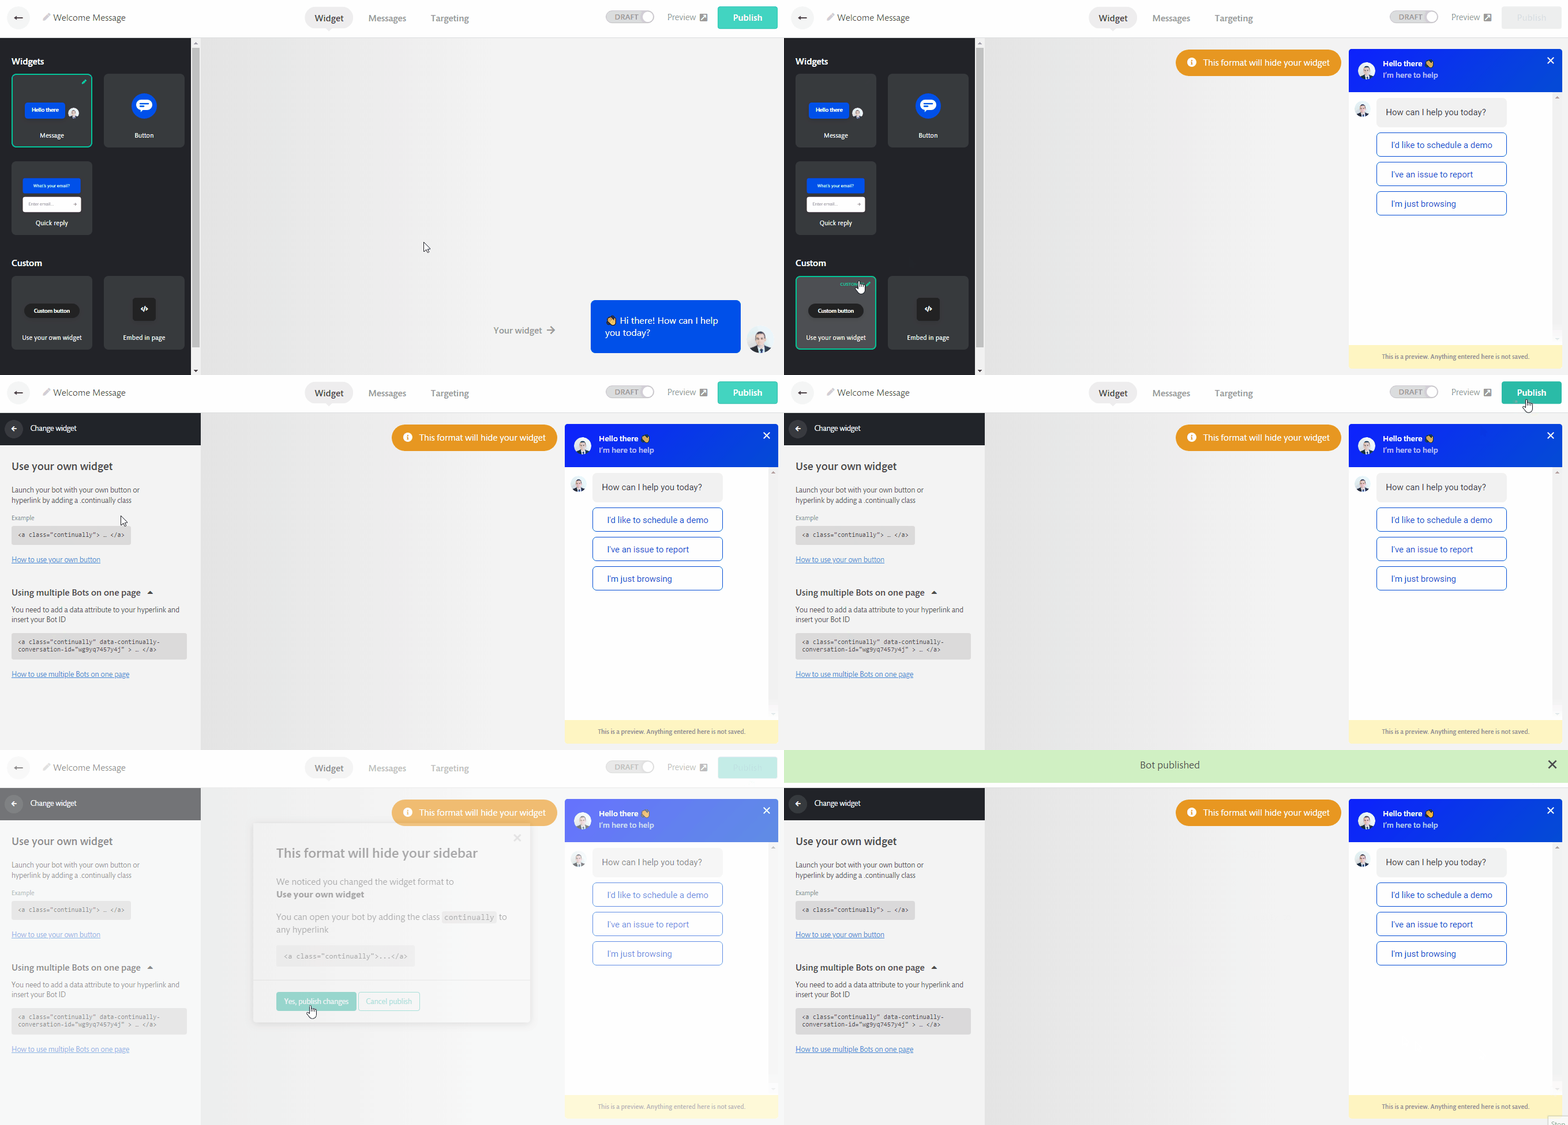
-Then open the bot that you want to launch from a button, go to the Widget tab and pick the Use your own widget widget format. This format allows you to launch the bot from a button or a link on your website.

We will cover both the Free and the Pro version of Elementor.
Elementor (Free)
Launch one bot
- Open the page you want to edit with Elementor.
- Click on the button or link that you want to start the chatbot.
- In the Content tab, to prevent the button from opening another link, make sure the link is set as '#'.
- In the Advanced tab, add 'continually' in the CSS classes field.
Launch multiple bots on one page
If you want to launch multiple bots, you will need to specify the bot id for each bot. Unfortunately, the attributes field is not available in the Free version of Elementor, so we will use a workaround to add the bot id attribute.
- Open the page you want to edit with Elementor.
- Click on the button or link that you want to launch the bot.
- In the Content tab, to prevent the button from opening another link, make sure the link is set as '#'.
- In the Advanced tab, add 'continually continually-button-1' in the CSS classes field. Increment the number for each button you want to use, for the second bot it will be 'continually continually-button-2'
- Open Continually WordPress plugin and paste the following code after the last line of your embed code.
<script>jQuery(document).ready(function($) {
$( ".continually-button-1" ).attr( "data-continually-conversation-id", "xxxxxx" );
$( ".continually-button-2" ).attr( "data-continually-conversation-id", "xxxxxx" );
});
</script>
Change 'xxxxxx' with each bot id. To get the bot id open the bot page, go to the Appearance tab, pick the Your button format and copy the bot id from there.
Elementor (Pro)
Launch one bot
- Open the page you want to edit with Elementor.
- Click on the button or link that you want to start the chatbot.
- In the Content tab, to prevent the button from opening another link, make sure the link is set as '#'.
- In the Advanced tab, add 'continually' in the CSS classes field.
Launch multiple bots on one page
- Open the page you want to edit with Elementor.
- Click on the button or link that you want to start the chatbot.
- In the Content tab, to prevent the button from opening another link, make sure the link is set as '#'.
- In the Advanced tab, add 'continually' in the CSS classes field.
- In the Attributes section, add this 'data-continually-conversation-id|xxxxxx', change the xxxxxx part with the bot id.
To get the bot id open the bot page, go to the Appearance tab, pick the Your button format and copy the bot id from there. - Do the same steps for each bot that you want to load.

