Google analytics: Track Continually in Google analytics
Measure your success with Continually on Google Analytics. In order to track Google Analytics, you must have installed your Tracking code on your site.
In this article
How do you set up tracking in Google analytics
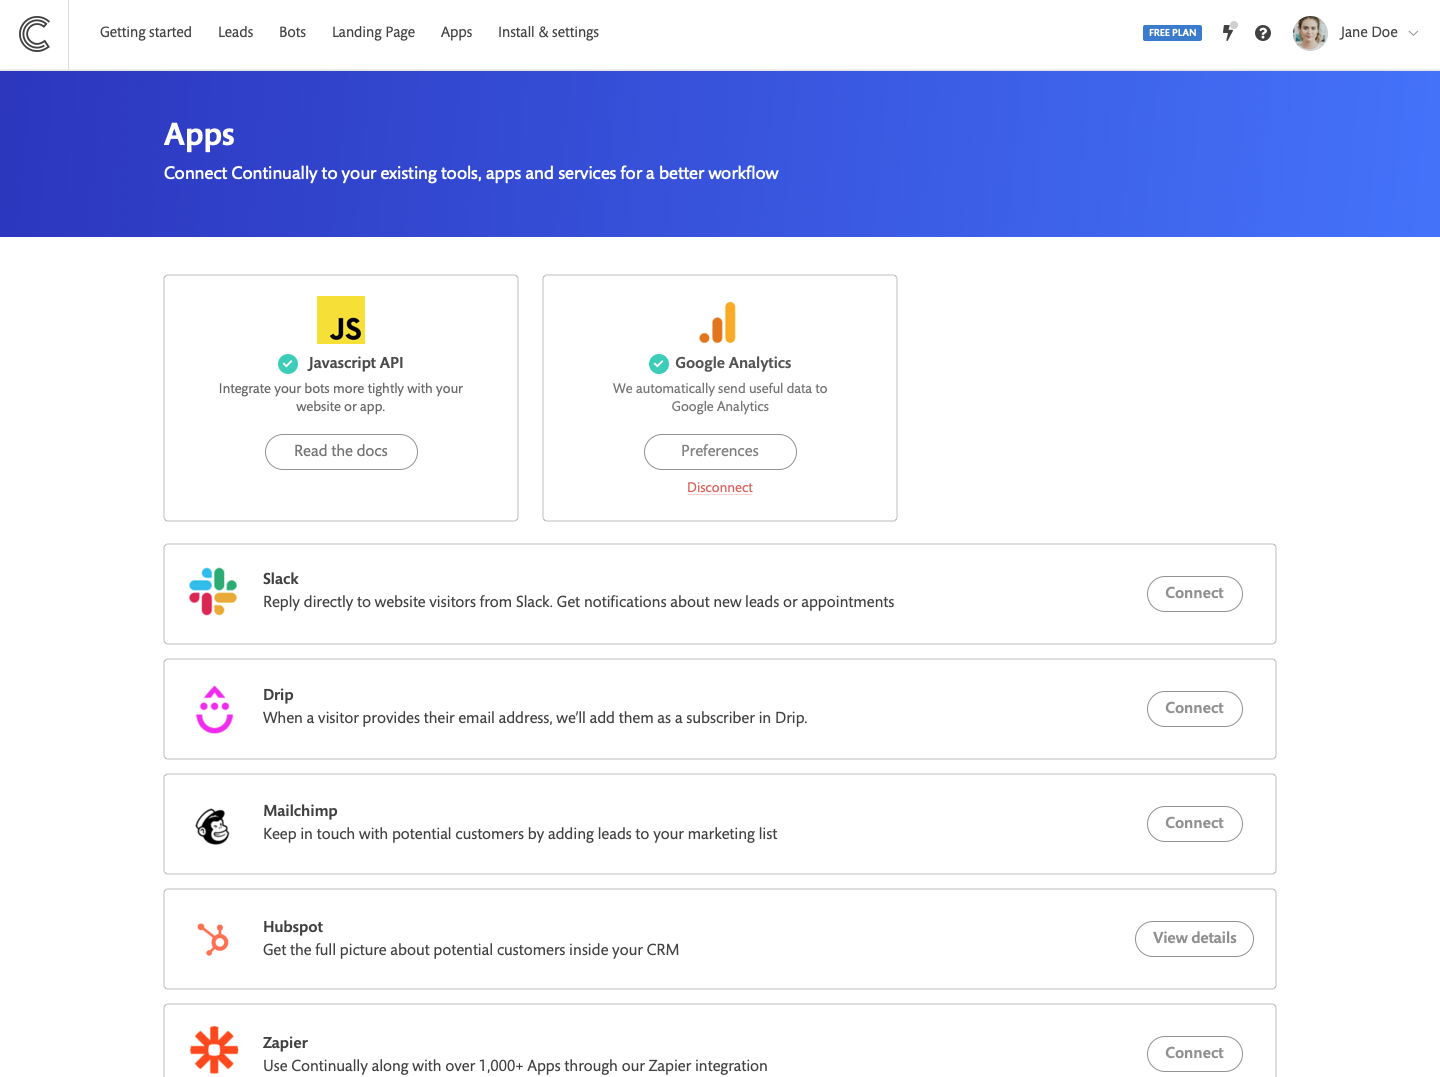
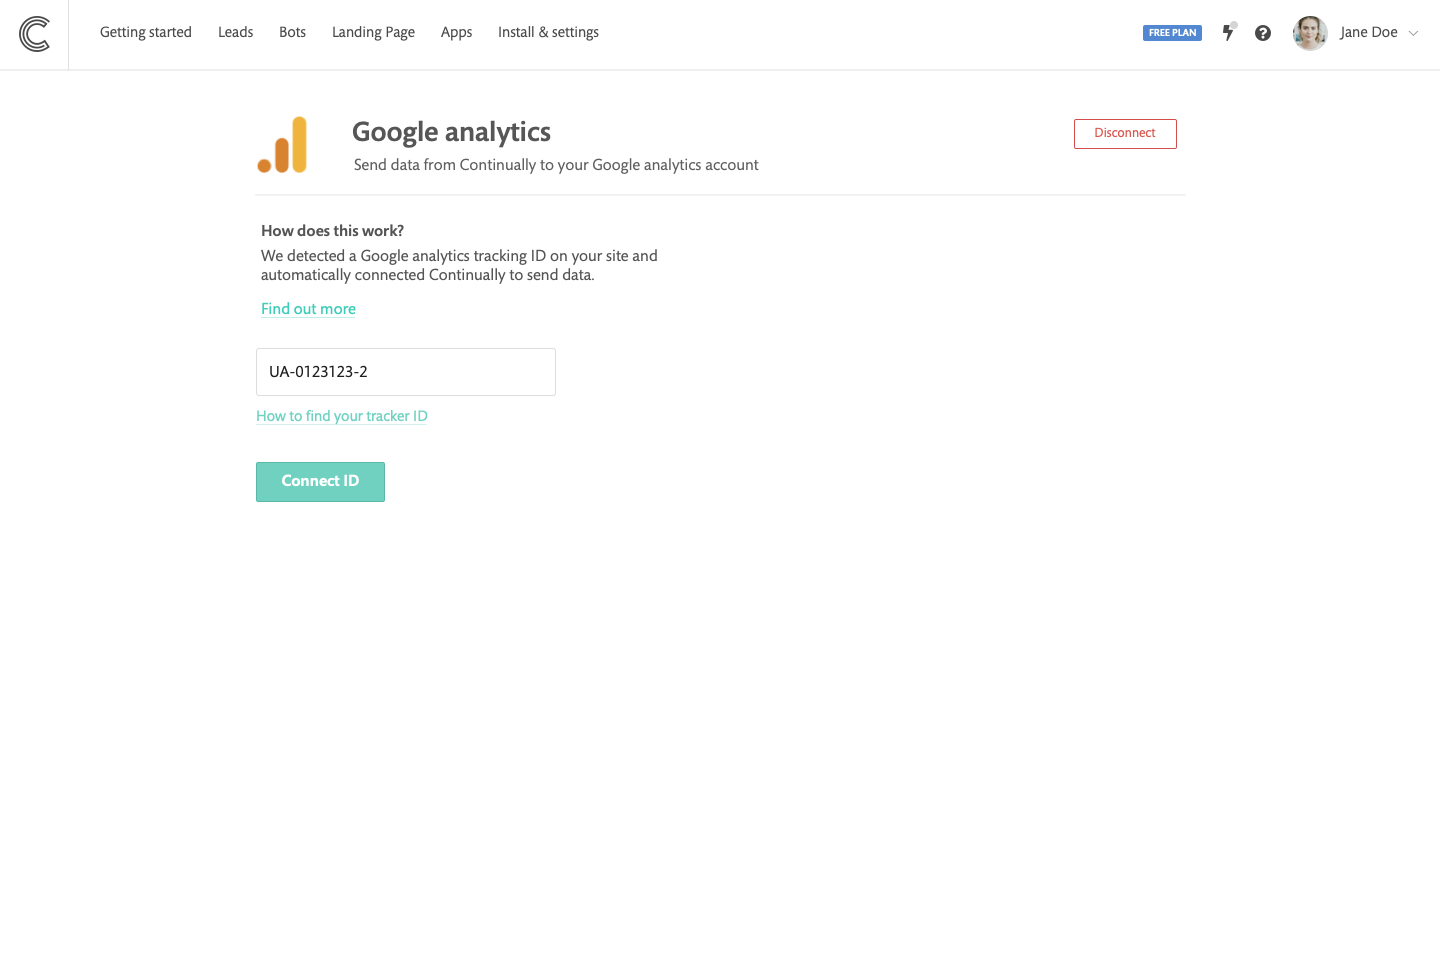
Go to the Apps page, find the Google Analytics integration and click on Connect, then enter the tracker ID you want to use. But, if you already have Google Analytics installed on your website, then there is no setup required! Continually will automatically detect your Google Analytics ID and send data to it
If you want to change the automatically detected Google Analytics tracker ID, simply click on the Preferences button and add the tracker ID you want to use.
What events do we track
- Widget displayed (Welcome message, button...)
- Sidebar opened
- Email address captured
- Appointment booked
- Phone number captured
How to specify which tracker you want to use
Using more than one tracker on your site?
To specify which one we send events to you need to:
- Have your tracker ID
- Be able to add a line of code to your embed script
Here is the line of code you need to add with your Id tracker filled in:
googleAnalyticsTrackerId: "xx-xxxxxxx-xx"
so your embed script should look like:
<script>var continuallySettings = { appID: "xxxyyyzzz", googleAnalyticsTrackerId: "xx-xxxxxxx-xx"};</script>
How to stop automatically tracking events in Google analytics
Just click on Disconnect in Google Analytics Preferences page, and we will stop sending data to Google Analytics.
Where can I see my Continually events in Google analytics?
You can track your events in real-time by going to Reports > Real-time > Events
You can also track your evens by going to Behavior > Events > Top events


