Salesflare : How to integrate Continually with Salesflare
Integrate Continually with Salesflare and send leads captured on Continually over to your Salesflare account.
In this article, we will cover:
How to connect Continually to a Salesflare account
Go to the Apps page, find the Salesflare integration and click Connect. Go to Salesflare API page and create a new API key, copy and paste it into Continually and click Connect.
After successfully connecting, create your first list, you have an option to sync all bots or a certain bot with an option to sync all existing leads.

How to sync leads to a second list
- 1
- Go to your apps page, find the Salesflare integration and click View preferences
- 2
- Click on Add another list.
- 3
- Select the list you want and choose to specify a bot.
- 4
- Then save your changes.
- 1
- Go to your apps page, find the Salesflare integration and click View preferences
- 2
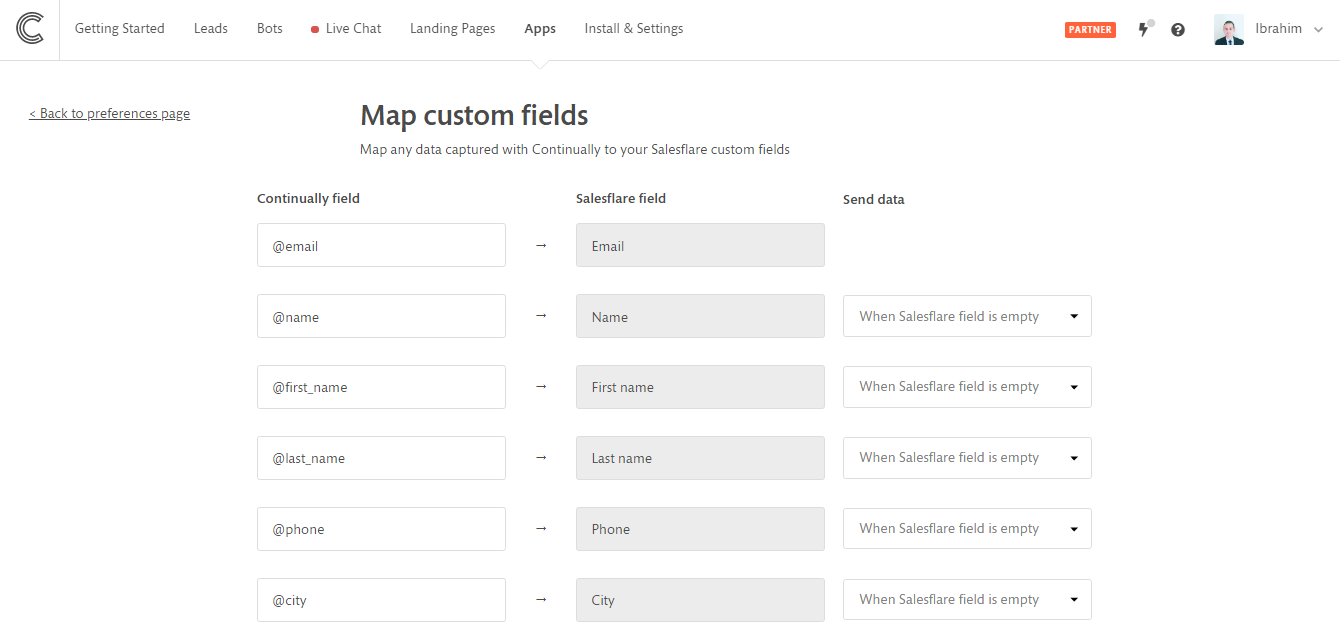
- Click on Fields mapping.
- 3
- Select where each Continually field maps to.

Note: If you want to stop the syncing of a list, simply click on Deactivate list and it will stop syncing it without removing it.
How to sync more than one bot to a list
So you have added your list and see the option to sync all bots or specify a bot. But maybe you want more than one? Here's how to do it.
You can repeat this step but select a different bot each time to sync more than one bot to your list.

Mapping your Continually fields to Salesflare
You can set where each of your Continually fields maps to on your Salesflare account.

Note: Some fields are not able to be re-mapped. They are highlighted grey. You can select the syncing behavior for these fields. You can sync them when the Salesflare field is empty or always sync them or never update them.