Zapier: Connect Continually with Zapier
You can connect Continually with over 1000+ apps with a Zapier integration. To get started you will first need to create an account on Zapier. Once you have an account there are a few steps to getting your integration up and running.
This article will show you:
Connecting Continually with Zapier.
You won't find our app by just searching for it in Zapier, you need to have accepted an invite which is done through the Continually app. Heres how to do that:
- 1
- Sign into Continually and go to the Apps page and find the Zapier integration
- 2
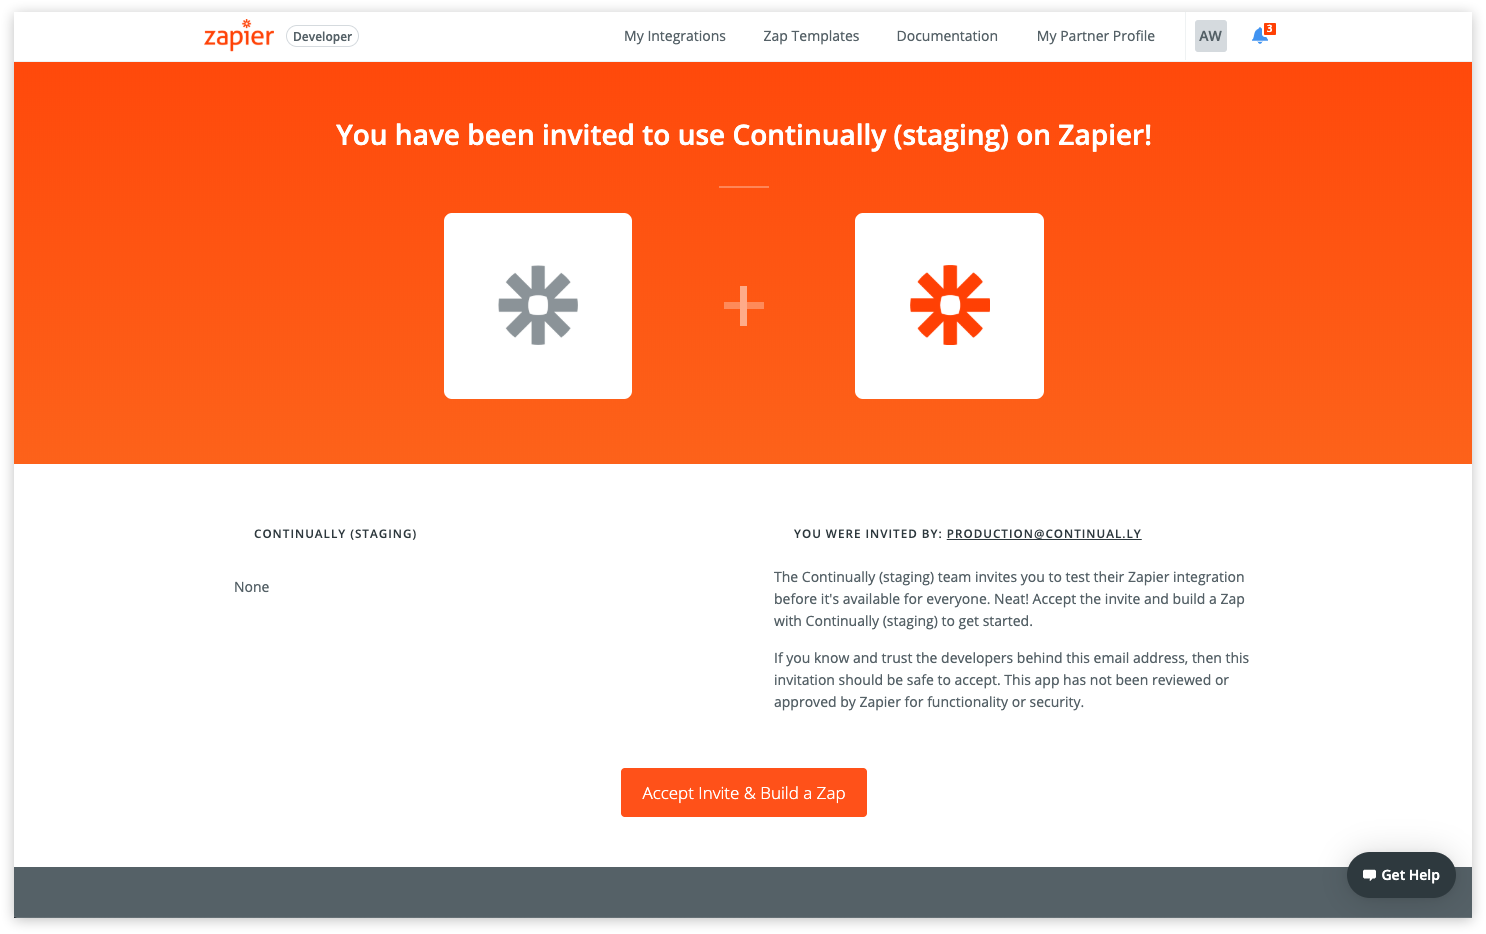
- Then sign into your Zapier account then you will see this screen with allows you to accept the invite from Continually.
Once you accept this you will now be able to start building out Zaps that work with Continually.
Creating your first Zap.
The great thing about Zapier is how you can connect with 1000's of other apps to suit your workflow. This demonstration will show you how we can pass data collected on Continually over to Gmail. However, you can follow these steps and connect with any other app.
- 1
- Once you have accepted the Continually invite you will be taken to the Dashboard.
- 2
- You can start the process off by clicking Make a Zap!
- 3
- You can then search and find the Continually app to use as your trigger.
- 4
- Next select which event you want to use as your trigger.
- 5
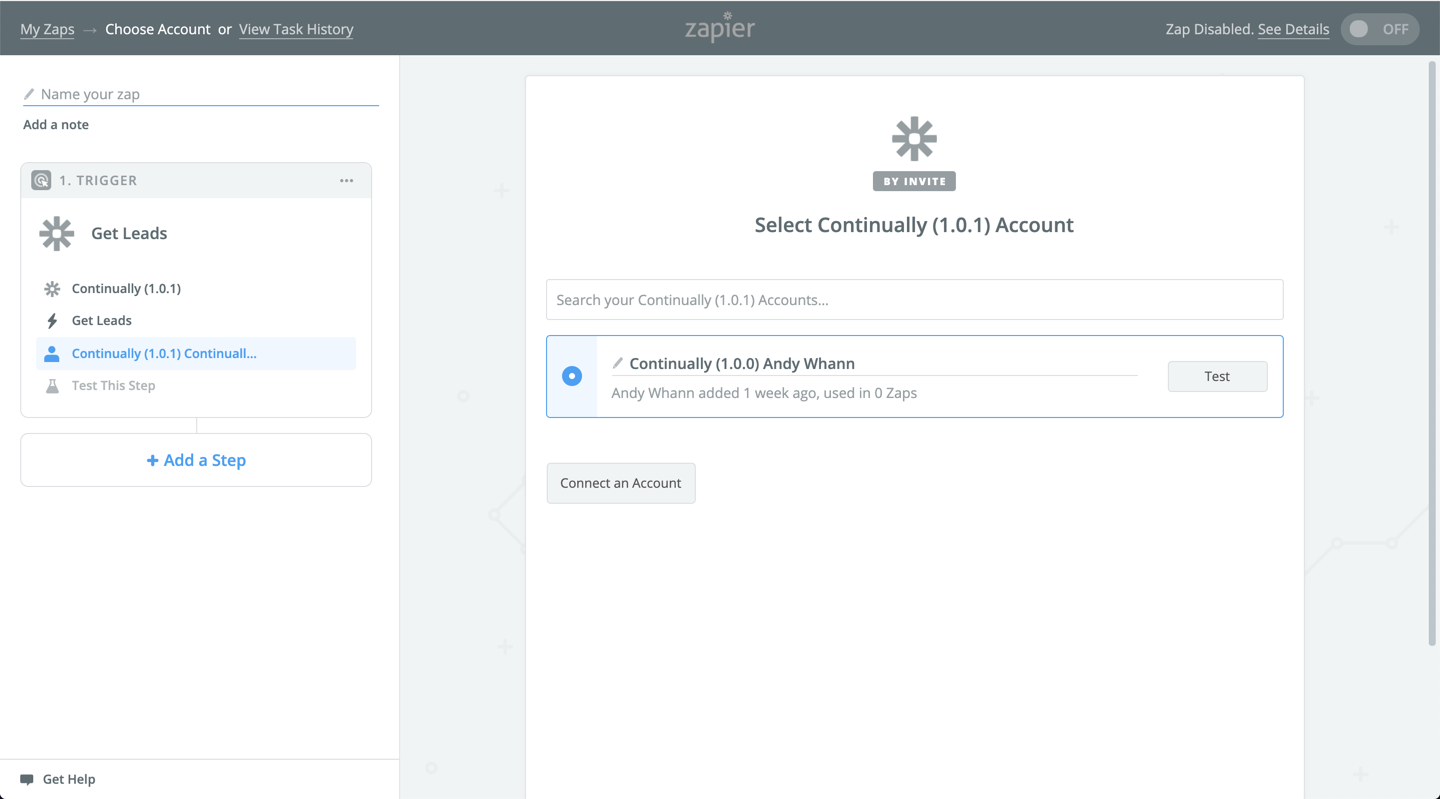
- Then you need to either sign into your Continually account or select an account that you have already connected.
- 6
- Next you can test to see what data you pull from your Continually account.
- 7
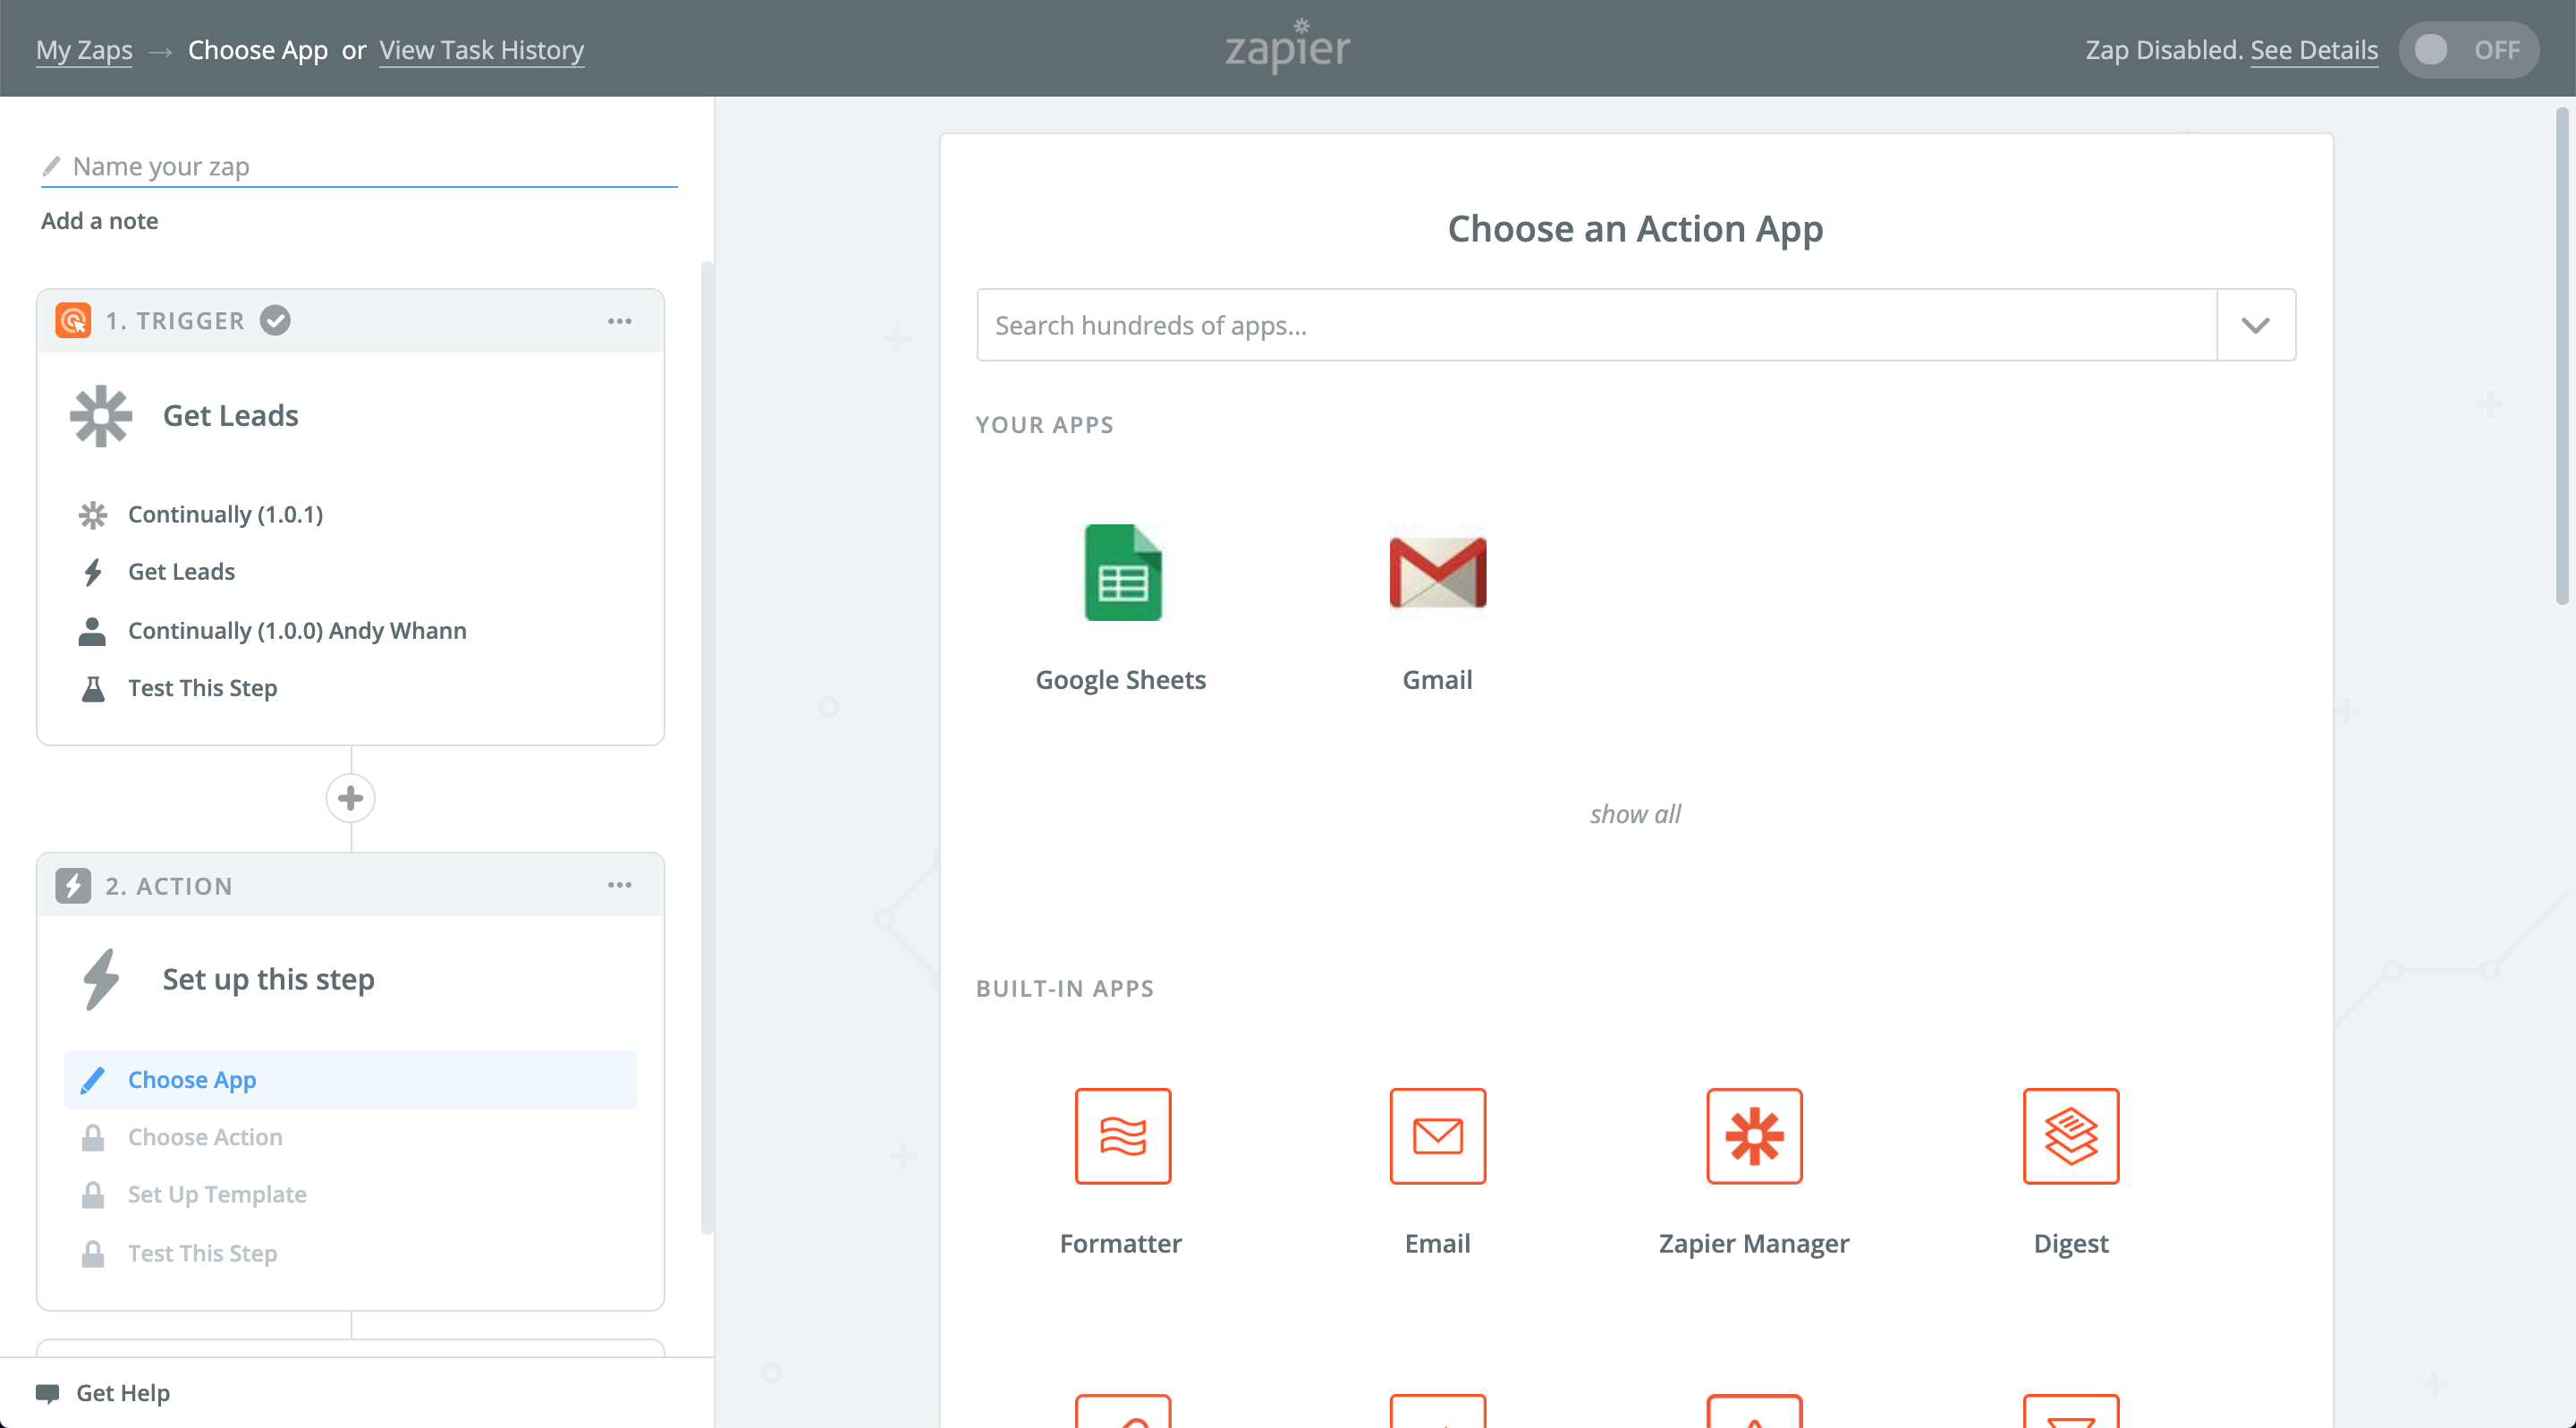
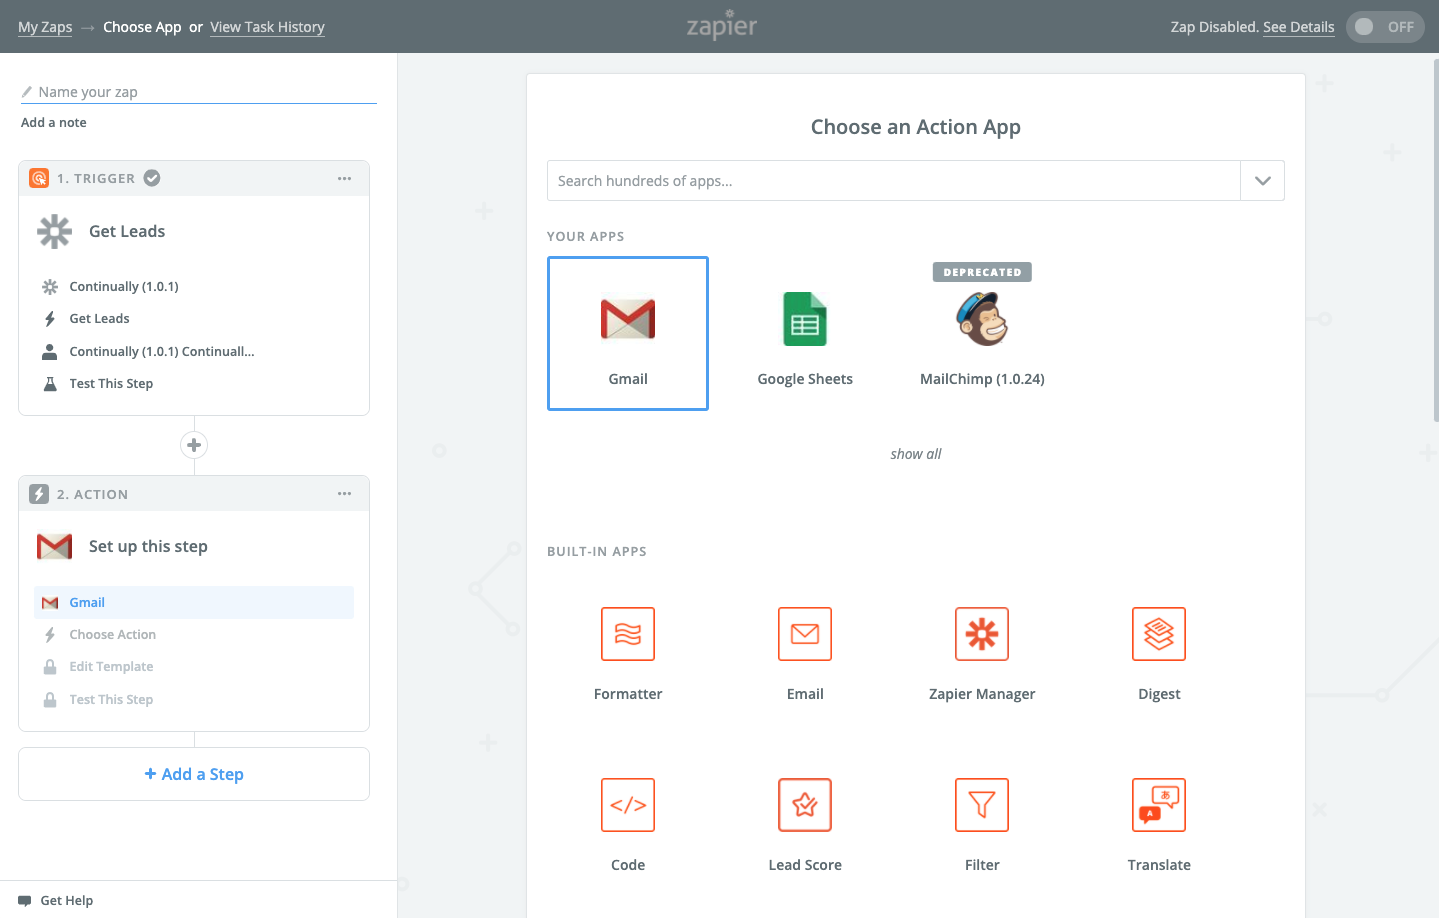
- Search and select the app you want to send data too.
- 8
- 8. Next select the action you want your app to perform. These objects will be subject for each app you choose.
- 9
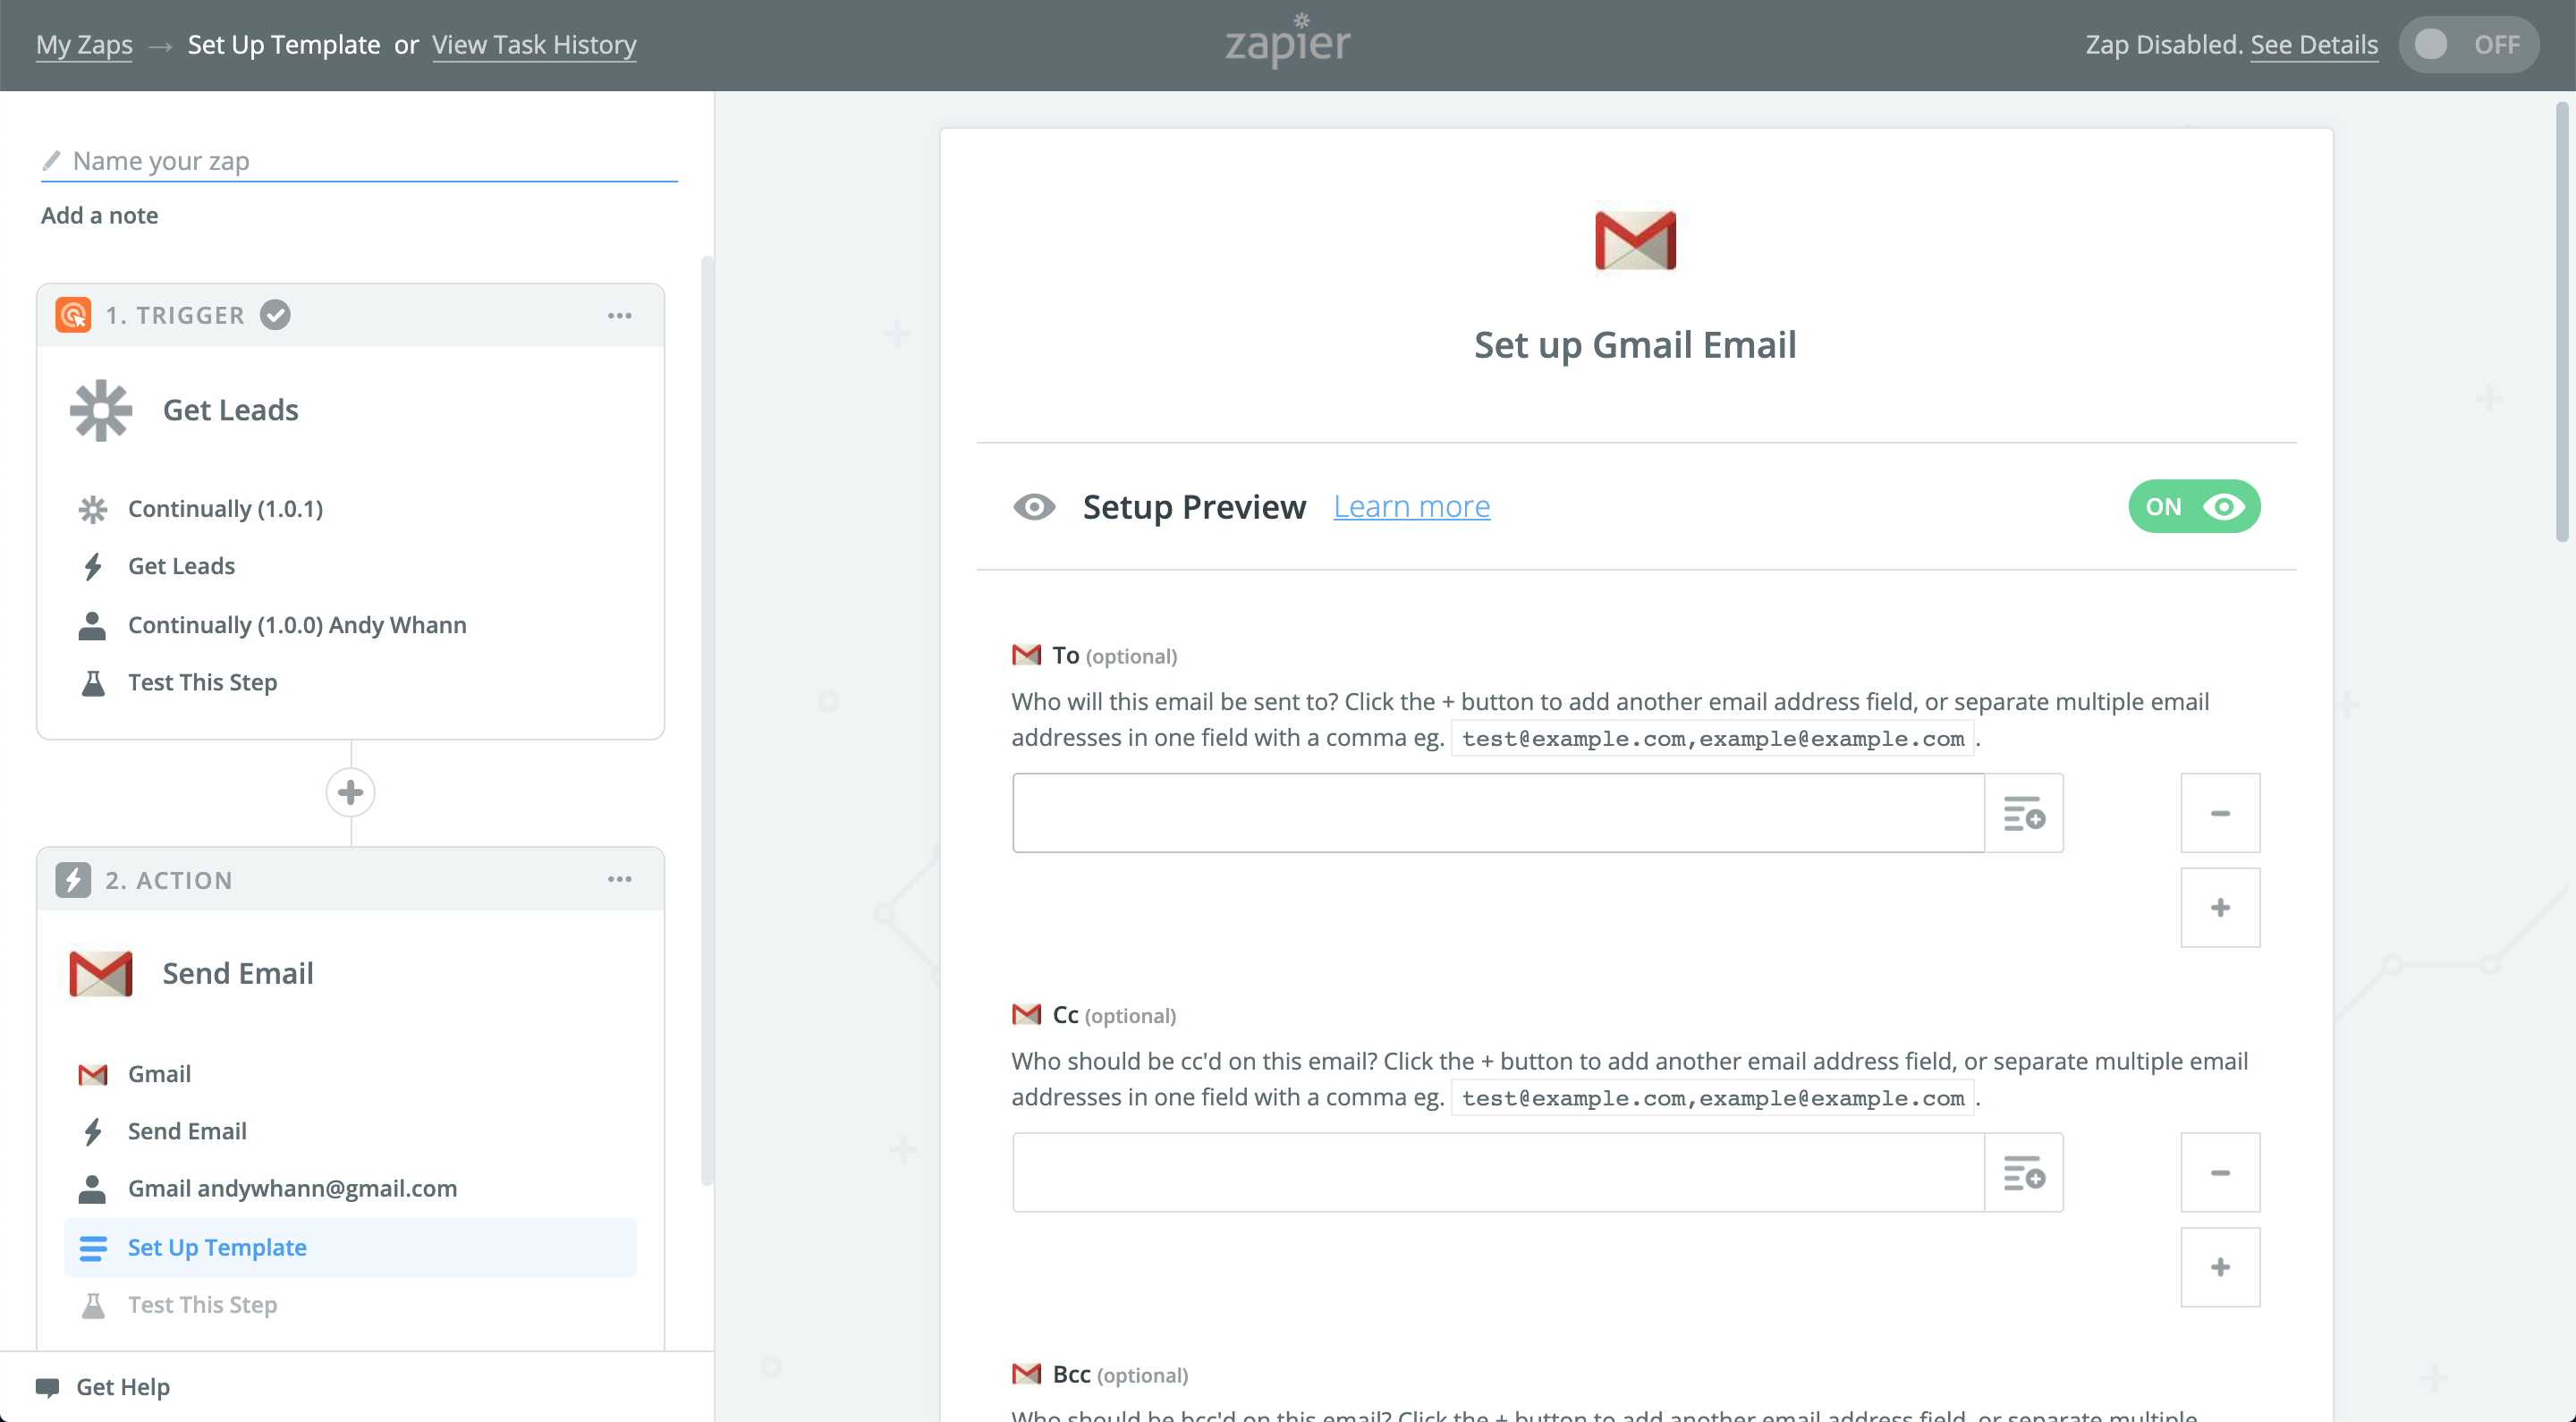
- Next you will need to set up how you want this action to function (in this example its setting up the email.)
- 10
- Then the final step is to test the action to see if it is set up to your liking.
- 1
- When setting up your Zap you will see three options for the Continually trigger, select Get Conversation Data. This will trigger your Zap when a conversation has completed a conversation.
- 2
-
On the Test this step section if you don't have an example to pull from yet, you can select to skip and view some example data. Here you can see the conversation data that is being passed and also all your stored custom fields.
- 3
-
3. Your next step then is to finish up your Zap by selecting what other app you want to send this data too.
- 4
-
When creating your action you can edit template and select which custom fields you want to use to send data.
So once you begin to make a zap, the first thing you need to decide is what your trigger is, this is what you use to let Zapier know when to start passing data. So you need to select which app you want to use as the trigger and what that event should be.
Now you have finished setting up your trigger from Continually, the next step is to decide where you want to send that data too.
Send conversation data and custom fields to Zapier
You can now send conversation data and custom fields to Zapier.
Note: The custom fields set in conversation and Conversation data will send an array of data.
Custom fields set in conversation
This will send the name and answer of each of the custom fields you have created in your conversations. Here is an example:
| Name: Product_ Rating |
| Value: Excellent |
Heres where that custom field would be stored from
Conversation Data
This will send the messages that where sent throughout your conversation. Here is an example:| Name: Suzan
Owner: Team member Text: Hey there! How can I help you? Name: Barry Owner: Lead Text: Hi, I would like to report a bug please Name: Suzan Owner: Team member Text: No problem! What is it you are experiencing? |
All custom fields
This will send the name and stored answer of each of custom fields you have created across your bots.
| Name: Product_ Rating
Value: Excellent |
| Name: What kind of business do you have?
Value: Accounting agency |

