Zapier: How to send email logs to customers after the chat ends
Note:
This solution is no longer available for free Zapier accounts. Multi-step zaps are available starting with Starter plan.
Looking to send your chat logs in an email once a visitor has completed a conversation with your bot? This guide will take you through step by step how to do that but you will need to have connected your Zapier account.
This guide will be done in 3 steps:
Pulling data from Continually
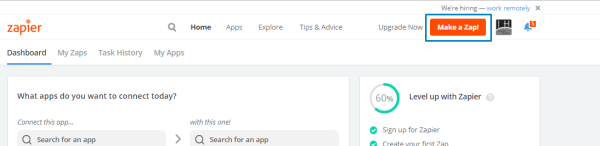
1. Sign into your Zapier account and click on Make a zap
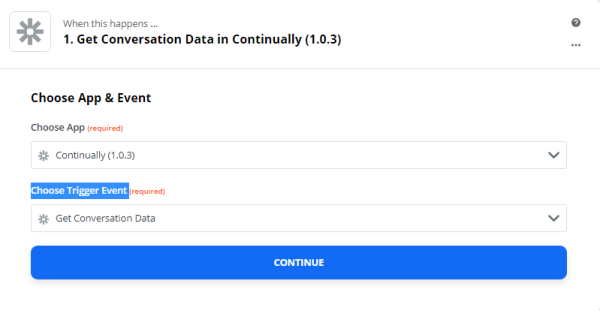
2. Search for the Continually app and select it

3. Next, you will need to select an event trigger, so under Choose trigger event select Get conversation data.
4. Choose which Continually Account you want to connect this Zap to.
6. In the find data section, you will see an example of the leads you had, you can pick any one of them as an example.
Formatting the data
Now that you have completed the first stage, this set of steps will allow you to format the conversation data that is sent from Continually.
1. Search for an app called Formatter by Zapier, this will allow you to format the data sent from Continually
2. In the Choose Action Event field select Text
3. In the Transform field select Split Text
4. In the Input field, click the button on the right of the field to add Conversation Data Name
5. Next, add type in a ":" into the input field. This will separate the senders name from their message
6. Next, click the button again and add Conversation Data Text and then write <br/>
7. In the Separator field write a comma ","
8. In the Segment Index field, select All (as Line-items)
9. Finally for this stage, click on Test and Continue

Sending data to mail server
Zapier provides different email apps that you can use to send data from Zapier server to. (E.g Email by Zapier, IMAP, Mailgun on Gmail)
In this guide we will use Gmail and what is used here is applied for all services.
1. Search for Gmail and choose it Send an Email then connect it to your account.
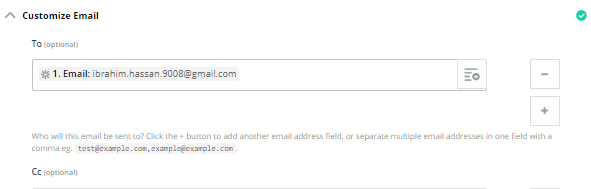
2. Under Customize Email, in the To Field: click on the button to the right then select Get Conversation Data and insert email
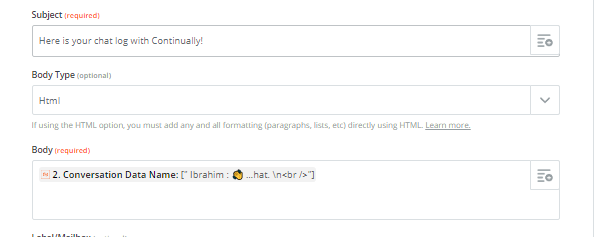
3. In the Subject field: Format this however you like. in the screenshot in this example we added “Here is your chat log with Continually” You can also include any field you want by clicking on the button to the right.
4. In the Body Type field: Select HTML
5. You can configure any other fields you would like, then once you are finished hit Continue, then Test and Review
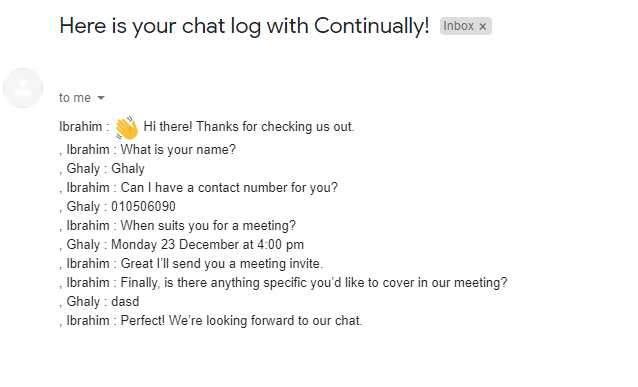
6. Your visitor should receive an email like this