Zapier: Add new leads to Google spreadsheet
One of the limitless use cases for our Continually integration with Zapier, is the ability to send leads collected by your bots to a spreadsheet.
What we will need.
- A Continually account.
- A Zapier account.
- A spreadsheet file saved on your Google Drive.
Firstly: Add Continually
- Sign in to Zapier and click on the“Make a Zap” button.
- Search for Continually and choose it.
- Choose the trigger event for this zap, you can choose any of the three:
- Get Appointments → Gets triggered when a new appointment is made.
- Get Leads → Gets triggered when we capture a new lead.
- Get Conversation Data → Gets triggered when a lead completes a conversation.
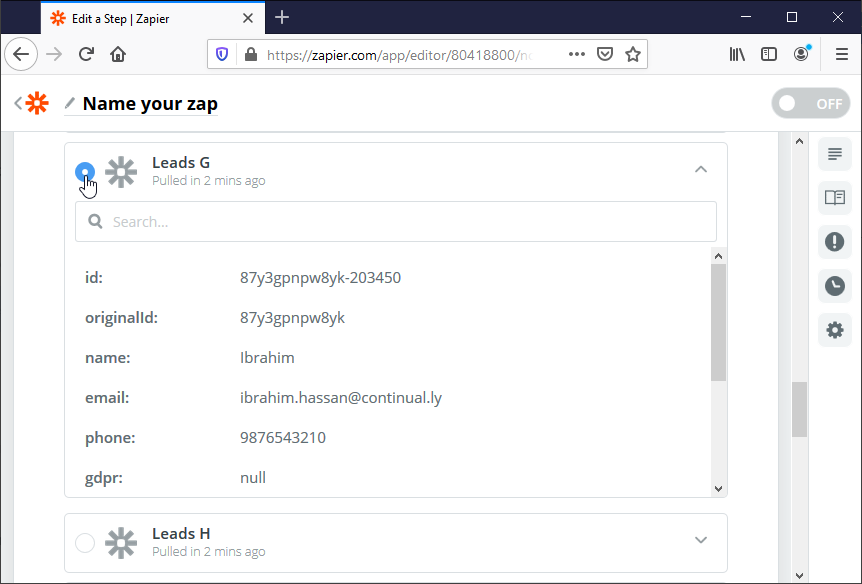
- For this guide we will choose“Get Leads”.
- Connect your Continually account, and click on Continue.
- Click on Test and Review to see an example of the data that will be sent to the zap. Choose any lead example you would like to use then click on Done Editing.

Secondly: Add Google Sheets
- in the“2. Do this…” section, search for Google Sheets and click on it.
- Choose the Action Event you would like to do with the data sent from Continually, we will choose“Create Spreadsheet Row” to add a new row with the lead’s data.
- Connect your Google account and click on Continue.
- In the Customize Spreadsheet Row section you will a lot of fields:
- Drive → Choose the drive that has your file.
- Spreadsheet → Choose which spreadsheet you would like to use.
- Worksheet → Choose the worksheet you would to add the rows to.
- After choosing the worksheet, Zapier will refresh and shows you the columns that currently exists in your worksheet.
- Start assigning the data captured from Continually to the fields in your sheet by clicking on the plus sign to the right of each field, then choose which field to assign. After you are done click on Continue
- Click on Test and Review, this will do a test by adding that lead to the spreadsheet, if everything is set okay click on Continue.
- You are done, turn on your Zap now.


