Marketo: How to connect Continually to Marketo
For customers who rely on Marketo's marketing automation capabilities, this integration will mean you can sync leads from Continually to Marketo.
To get started you must have a user with Admin rights in Marketo. For authorization you'll need three pieces of information:
- Client ID
- Client Secret
- Munchkin Account ID
In this guide we will cover
How to get the authorization information
Finding Client ID & Client Secret
We need to:
- Create an API Only Role with all Access API permissions.
- Create an API User
- Assign the API User to the API Role
- Create a Custom Service with that API User and find its Client ID and Secret.
- 1
-
Create an API only role
Login to Marketo, go to Admin click on User & Roles.
Add a new role - call it something that would make sense to you later such as Continually Integration and give it API Access.
- 2
-
Create an API only user
Let's add an API-only user to that role.
API-Only users are a special type of user in Marketo, as they cannot be used to log in to Marketo. They are used to create custom services and access the REST API.To add an API-only user, go to Users & Roles, on the Users tab click on Invite New User. Give your user a descriptive name and email (it doesn't need to be a valid email), write a description like "Connecting to Continually" in the Reason field and leave the Access Expire as Never.

- 3
-
Assign the API User to the API Role
Assign the API-only role we just created (we called it Continually Integration) to the user we are creating and click on the API-Only checkbox, click Next and on the final step click Send.

- 4
-
Create a Custom Service with that API User and find its Client ID and Secret
Go to Admin Panel -> Integration ->LaunchPoint, click on New Service. Set the Display Name as "Continually Integration Service" and select the Service as Custom.
Fill in the description as "Service used to connect to Continually" (or anything you want), and for API Only User select the API User we created in the previous step, then click on Create.
This will add a new service to your LaunchPoint services, click on View details to view the Client Id and the Client Secret.

Finding your Munchkin Account ID
To find the Munchkin Account ID, go to Admin -> Integration -> Munchkin, find and copy the Munchkin ID. We'll use it in the connecting step.

How to connect / Disconnect Continually to Marketo
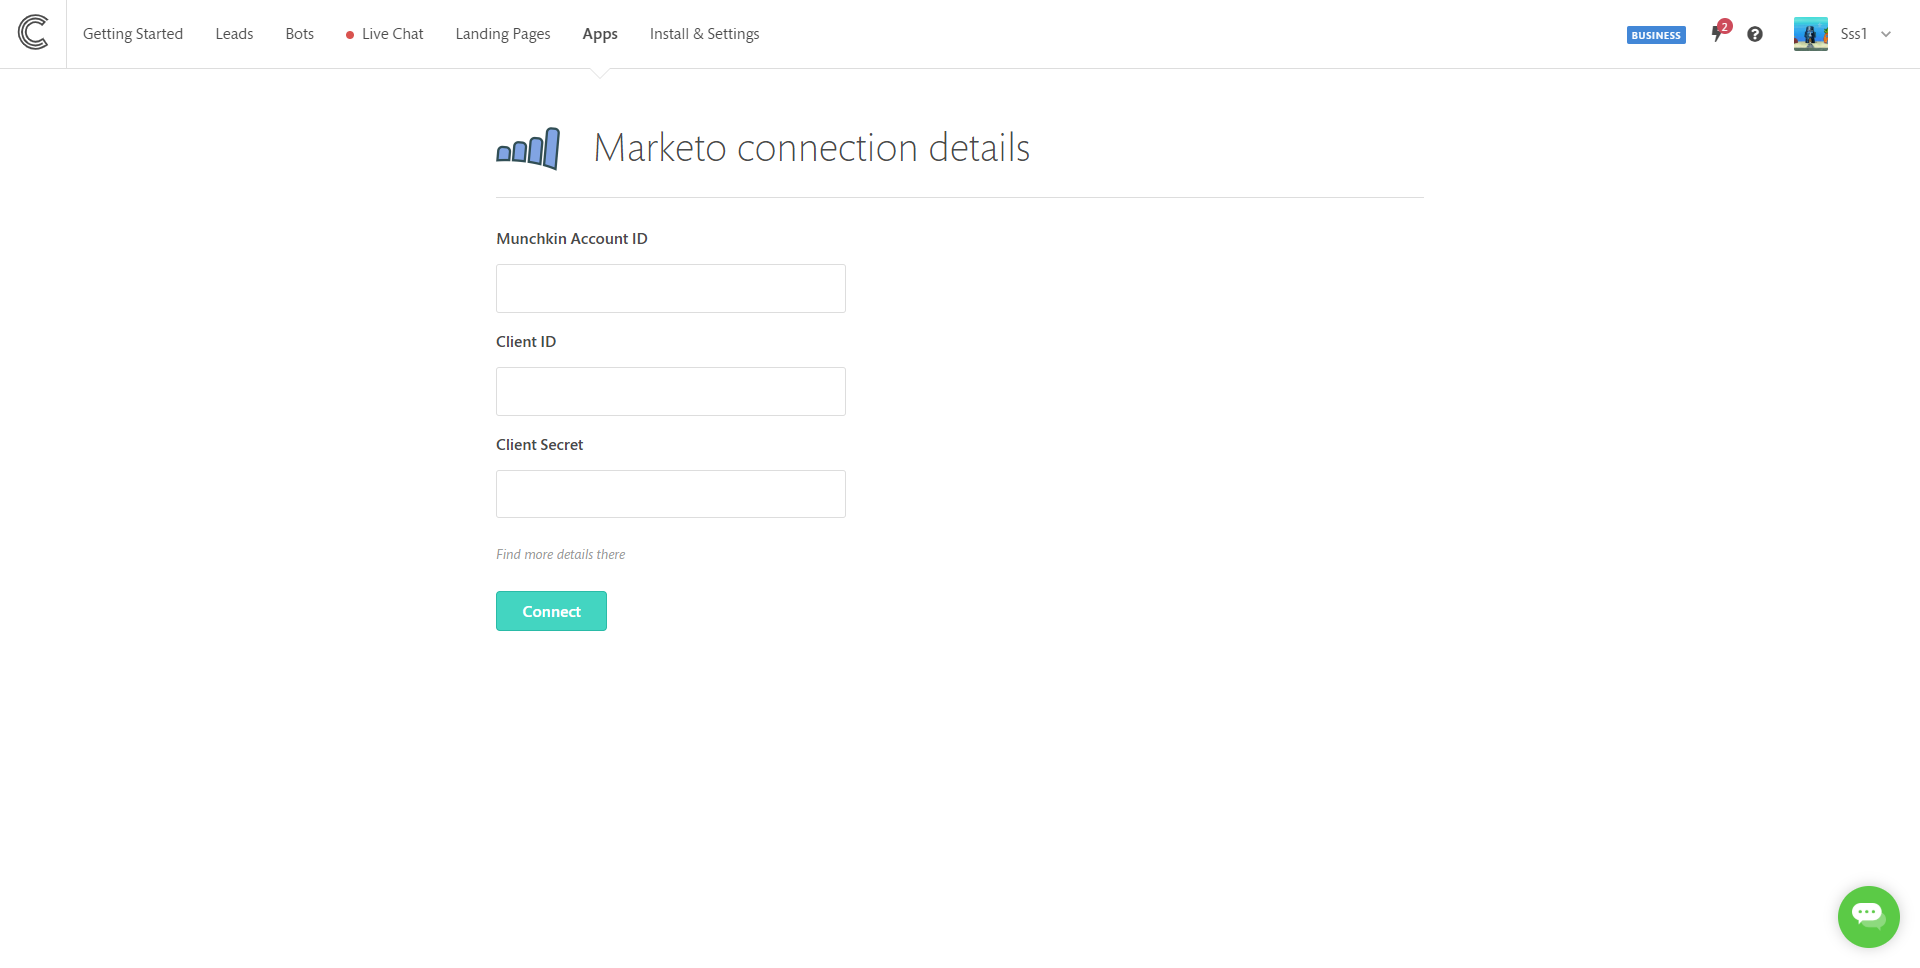
After you got the Client ID, Client Secret and the Munchkin Account ID you are ready to integrate Continually to Marketo. From the Apps page, find Marketo and click on Connect, then paste the authorization info you got from the previous steps and Connect.
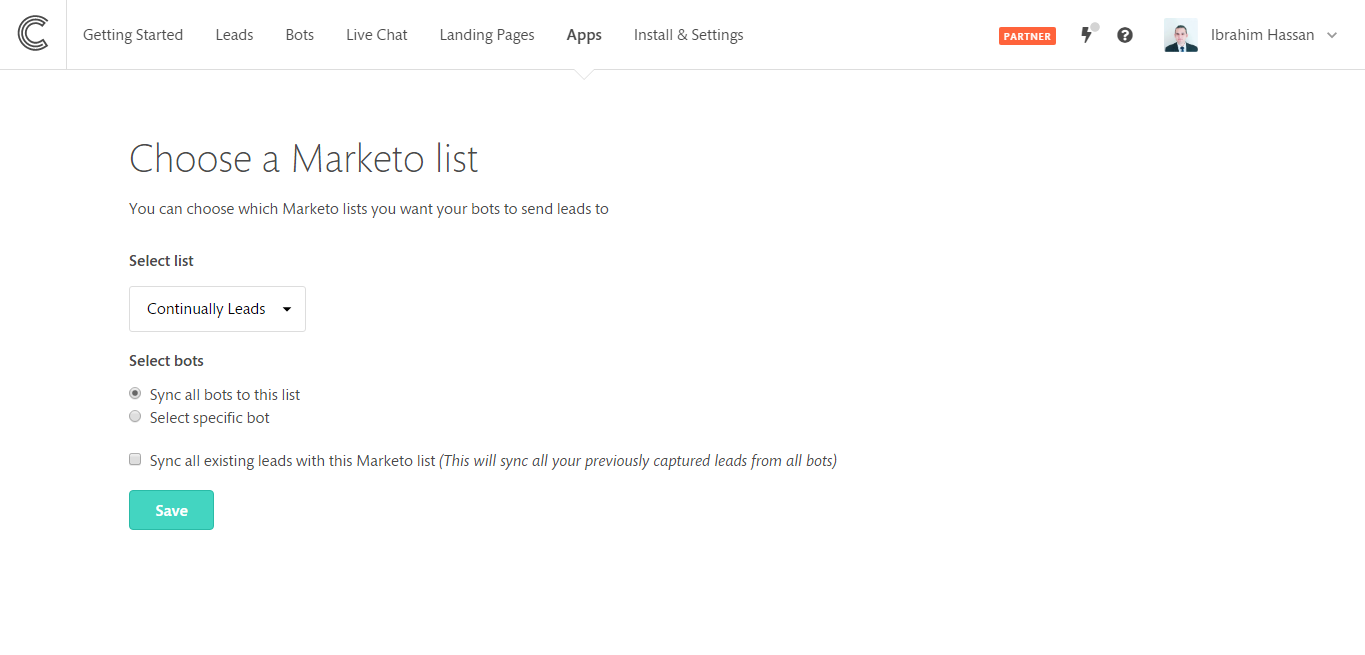
After that you will be asked to sync your first list, you can choose whether to sync all bots or certain bot only, and to sync all leads prior to that integration, you can choose to sync all existing leads with Marketo list.